Global layout
 +86 769 2366 8529


Time:2026-04-24 Views:19
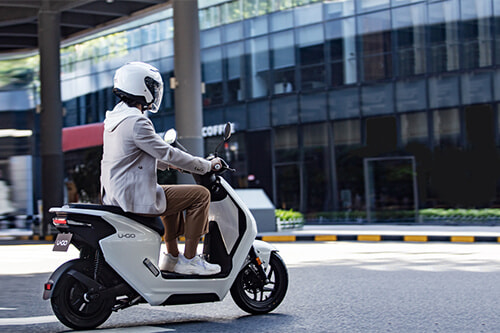
Replacing the golf cart battery is a systematic operation that requires strict adherence to the correct process to ensure the safety of the operator and the normal operation of the golf cart after replacement. Before starting the replacement, it is necessary to make full preparations. First, confirm the type and specifications of the original battery, including the battery voltage (usually 36V or 48V for golf carts), capacity, size, and terminal type (top post or side post), to ensure that the new battery is fully compatible with the golf cart. Then, prepare the necessary tools and materials, such as a wrench, screwdriver, wire brush, anti-corrosion grease, gloves, goggles, and a neutralizing agent (for lead-acid batteries). It is also important to ensure a well-ventilated and safe operating environment, away from open flames, sparks, and flammable materials, as lead-acid batteries contain corrosive electrolytes and may release flammable gas during replacement.
The second step is to disconnect the old battery. First, turn off the power switch of the golf cart to avoid short circuits during operation. Then, disconnect the negative terminal (marked with “-”) first, using a wrench to loosen the terminal bolt, and gently pull the terminal away from the battery post. After that, disconnect the positive terminal (marked with “+”) in the same way. It should be noted that the disconnected terminals should not be in contact with each other or with the metal parts of the golf cart to prevent short circuits. Next, remove the battery hold-down bracket or strap that fixes the battery in the battery compartment, using a screwdriver or wrench to loosen the fixing bolts. Carefully lift the old battery out of the battery compartment, taking care not to tilt or invert it, especially for lead-acid batteries, to avoid electrolyte leakage. After removing the old battery, clean the battery compartment with a wire brush to remove dust, corrosion, and electrolyte residues, and dry it with a clean cloth. If there is severe corrosion, use a neutralizing agent to clean it and then dry it thoroughly.
The third step is to install the new battery. First, check the new battery for damage, leakage, or other defects, and confirm that the terminals are clean and intact. Then, carefully place the new battery into the battery compartment, ensuring that it is placed stably and correctly aligned with the terminal positions. Install the battery hold-down bracket or strap, and tighten the fixing bolts to ensure that the battery does not move during the operation of the golf cart. Next, connect the terminals: first connect the positive terminal (marked with “+”) of the new battery to the positive wire of the golf cart, tighten the terminal bolt, and then connect the negative terminal (marked with “-”) to the negative wire. After connection, check whether the terminals are tight and in good contact, and apply a thin layer of anti-corrosion grease to the terminals to prevent corrosion. Finally, turn on the power switch of the golf cart, test whether the vehicle can start normally, and check the battery voltage and charging status to ensure that the replacement is successful. After replacement, properly dispose of the old battery in accordance with environmental protection requirements, and do not discard it at will.
Be the first to receive our latest news, how-to user guides,
and exclusive deals! Subscribe now.

 Headquarter Address:10F, Building 25, N0. 179 Fengguan, Dongshen Road, Dongguan, Guangdong
 Factory Address: Building 3, Area D, Shengyang Science and Technology Industrial Park, East District of Suichuan County Industrial Park, Ji'an City, Jiangxi Province
 Headquarter Telephone No.: +86 769 2366 8529
Factory Telephone No.: +86 796 6111618
 Contact Person:Kevin Chen
 Email Address:chen@xpower-world.com