Global layout
 +86 769 2366 8529


Time:2026-04-18 Views:57
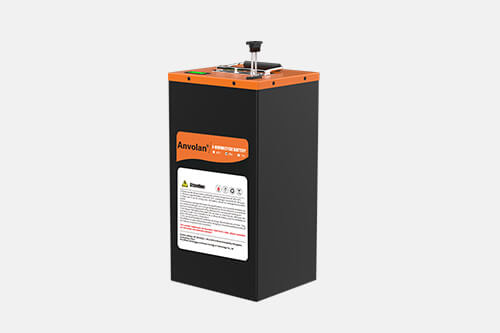
Correct installation of a tricycle battery is not only related to the normal operation of the tricycle but also directly affects the battery's service life and user safety. Improper installation, such as wrong polarity connection, loose fixing, or poor contact, may cause short circuits, battery damage, equipment failure, or even safety accidents such as explosions or fires. Therefore, it is necessary to strictly follow the installation steps and precautions to ensure that the battery is installed correctly and securely, maximizing its performance and service life.
Before installation, adequate preparation work must be done. First, confirm that the battery's voltage, capacity, and size are compatible with the tricycle's model, ensuring that the battery can be smoothly placed in the battery compartment and matched with the motor and controller. Prepare the necessary tools, such as insulated wrenches, screwdrivers, multimeters, and heat shrink tubing, to avoid using inappropriate tools that may damage the battery or circuit. Before starting installation, turn off the tricycle's power switch and disconnect the power supply to prevent electric shock or short circuit caused by accidental contact with the circuit. At the same time, check the old battery (if replacing) for leakage, bulging, or damage, and clean the battery compartment to remove dust, debris, and corrosion, ensuring a clean and dry installation environment.
During installation, pay attention to the correct connection of the battery's positive and negative poles, which is the most critical step. The tricycle battery is usually connected in series; the negative pole of one battery is connected to the positive pole of the next, and so on, and finally, the positive and negative poles of the battery pack are connected to the tricycle's circuit. Before connection, clearly mark the positive and negative poles of the battery and the circuit to avoid reverse connection. Reverse connection will cause a short circuit, burn the controller, motor, or battery, and even cause fire or explosion. When connecting the wires, ensure that the connectors are tightly connected, and use a wrench to tighten the screws appropriately, avoiding poor contact caused by loose connections, which may lead to heat generation or power failure. After connection, use a multimeter to check the voltage of the battery pack to ensure that the voltage is normal and consistent with the tricycle's rated voltage.
After installation, do a comprehensive inspection and test. First, check whether the battery is fixed securely; the battery should be placed stably in the battery compartment, and anti-vibration brackets or fixing straps should be used to fix it to avoid shaking or collision during the tricycle's operation, which may damage the battery's internal structure or cause wire detachment. Then, check all wire connections for looseness, leakage, or corrosion, and use heat shrink tubing to wrap the wire joints to prevent moisture and corrosion, extending the service life of the circuit. Finally, turn on the power switch, test the tricycle's start-up, acceleration, and braking performance, and check whether the battery indicator is normal. If any abnormal phenomena such as abnormal noise, heating, or power failure are found, turn off the power immediately and check the installation again. In addition, after installation, charge the battery fully before formal use, and avoid over-discharging in the initial use stage to protect the battery's performance.
Be the first to receive our latest news, how-to user guides,
and exclusive deals! Subscribe now.

 Headquarter Address:10F, Building 25, N0. 179 Fengguan, Dongshen Road, Dongguan, Guangdong
 Factory Address: Building 3, Area D, Shengyang Science and Technology Industrial Park, East District of Suichuan County Industrial Park, Ji'an City, Jiangxi Province
 Headquarter Telephone No.: +86 769 2366 8529
Factory Telephone No.: +86 796 6111618
 Contact Person:Kevin Chen
 Email Address:chen@xpower-world.com